Are you wondering how to repurpose blog posts? You’re in the right place!
Blogging is a powerful tool for photographers to showcase their work and attract potential clients, but why stop there? Repurposing blog content is like giving your hard work a second (and third) life, helping you reach new audiences across platforms.
In fact, I never write a blog post without repurposing it. You’ll probably see this post over in a YouTube video of ours, on Threads, on Instagram, and everywhere else.
One blog post can become so much more, allowing you to maximize your content to its fullest extent. It can become 10-15 Pinterest pins, a carousel for Instagram, a podcast script, video ideas, an email, and beyond. Let’s break down how to turn one blog post into multiple pieces of content.
Why Repurpose Blog Content?
There are quite a few reasons why you should repurpose your blog content.
First of all, you’ve already done the heavy lifting by creating a blog post. Repurposing stretches its value and saves you time, which, as a biz owner, we both know means a lot.
Different people consume content differently. Repurposing lets you meet your audience where they are, whether on Instagram, Pinterest or through email. The odds aren’t high that the same people follow you everywhere, right?
By repackaging your blog content, you create multiple entry points to your website, driving more traffic and engagement. We’re all for SEO gains over here!
Steps for Repurposing Blog Content
So, now that you know why you should be repurposing your content, let’s talk about some ways to repurpose it.
Step 1: Start with a High-Value Blog Post
Choose a post that addresses a common question, provides tips, or showcases your expertise. Really it can be any post that you feel has enough info to repurpose.
Once you’ve selected your post, it’s time to repurpose it!
Step 2: Create 10-15 Pinterest Pins
Pinterest is a goldmine for photographers.
There’s two types of pins you can make with your blog posts:
Graphic Pins
Use Canva or a similar tool to design pins with engaging titles from your blog. You can actually use Pinterest’s search bar to find keywords for your blog posts. I like to put the keyword in the title and description and then something catchy in the pin.
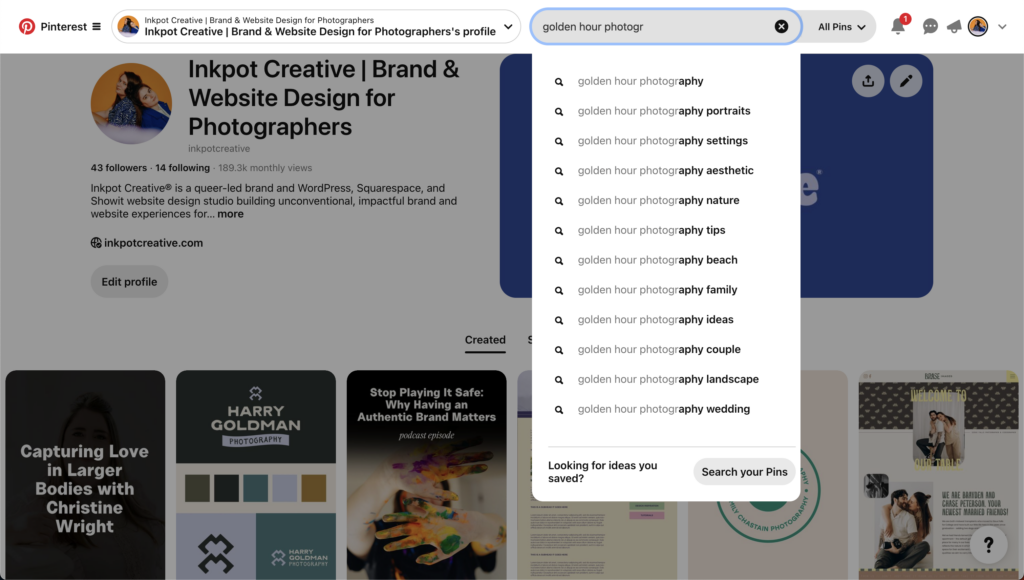
Include high-quality images from your blog post and your website URL on each pin.
Photo Pins
Publish each individual photo from your blog post directly to Pinterest.
Write captions that tie back to your blog topic and add a call-to-action (CTA) like “Read the full guide on my blog!”
For photographers repurposing to Pinterest, we always recommend trying out both graphic posts and Pins with just photos. We’ve found you never know which will perform better specifically for your audience.
Every pin should link back to the original post, driving traffic to your site. Don’t forget this!
Step 3: Build an Instagram Carousel
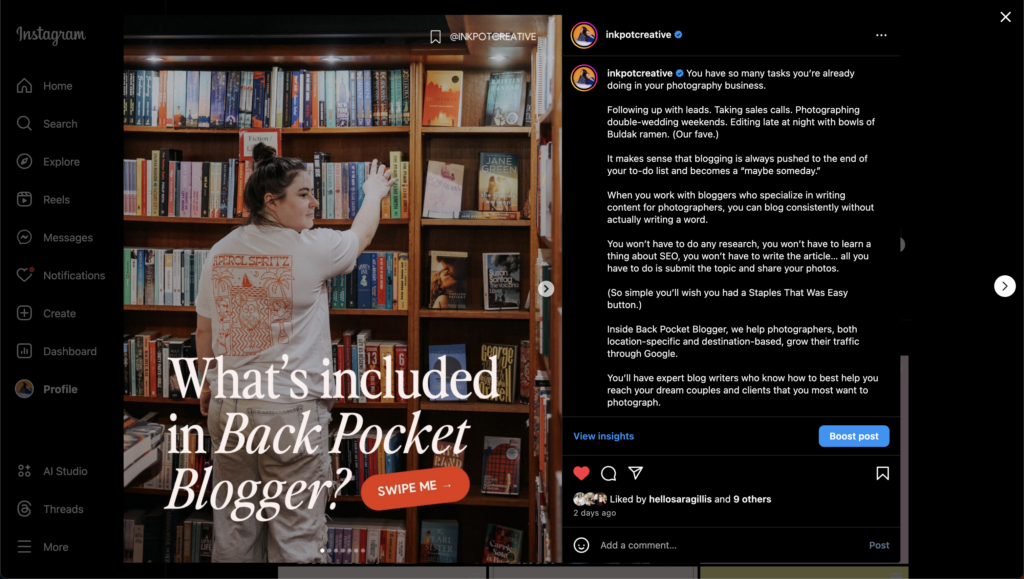
Next, turn your blog post into a swipeable carousel that educates and inspires your audience. These tend to be pretty save-worthy on Instagram.
For example:
- Slide 1: Hook your audience with a bold statement like “Struggling to Relax in Front of the Camera? Here’s How to Fix That.”
- Slides 2-5: Share tips or highlights from the blog, paired with images.
- Final Slide: End with a CTA: “Save this post for your next photo session! Read more tips on my blog.”
When in doubt, just use the different headings for different slides in your carousel.
Step 4: Write a Podcast Script
If you have a podcast (or plan to start one), your blog post can easily double as an episode script. Break your post into key talking points and add stories or personal insights.
Believe it or not, but our podcast actually started off with me just reading some of our old blog posts. It works, especially if you don’t want to come up with new content!
You can also use your podcast to expand on the content you already have in your post, using the blog post as a starting point.
Step 5: Create 3-5 Short-Form Videos
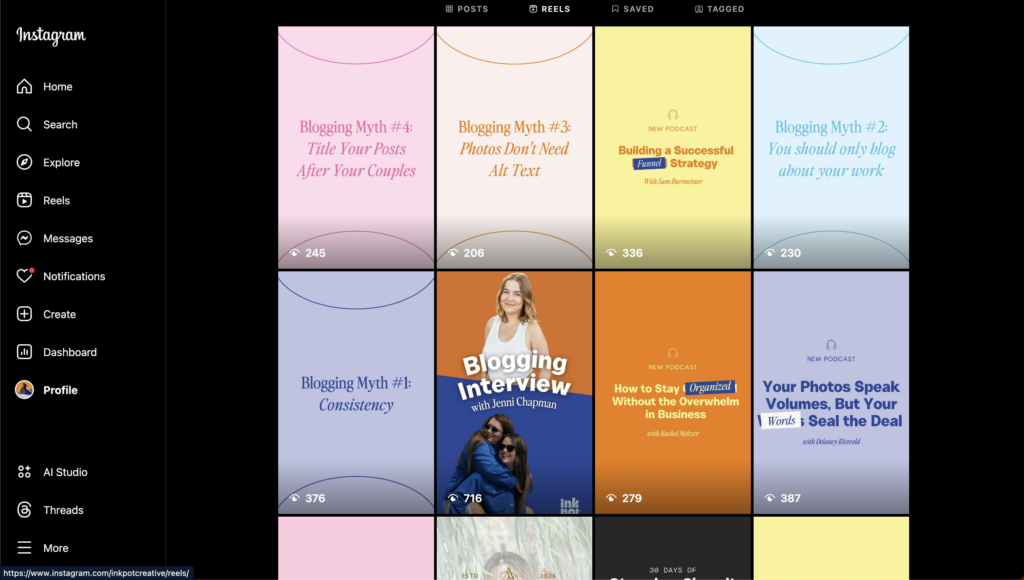
Video content is superior on platforms like Instagram Reels and YouTube Shorts. Use snippets from your blog to create short, impactful videos.
You can even make a whole series using your blog post.
As an example, if I wanted to turn this blog post into a short video series, I could use each step as its own video!
Step 6: Design an Instagram Story Sequence
Create a series of Instagram Stories to promote your blog post. Here’s a simple format:
- Slide 1: Teaser—”Struggling to feel comfortable during photoshoots? I’ve got 10 tips to help you out.”
- Slide 2-4: Share 1-2 tips per slide, paired with a relevant photo or short video.
- Final Slide: Add a link sticker to the blog post: “Swipe up (or tap the link) to read the full guide!”
You can also just keep things simple and make a template in Canva sharing you have a new blog post that you can post whenever you have a new one. Just be sure to actually link to your post, too. Don’t make people work hard to find your content!
Step 7: Draft an Email
Use your blog post as the foundation for an email to your subscribers.
Here’s how we normally do this!
- Opening Paragraph: Hook readers with a relatable question or problem: “Feeling nervous about your upcoming photo session? You’re not alone!”
- Main Content: Highlight 2-3 key points from your blog. (Don’t give it all away – the point is to send people to your blog!)
- CTA: “Read the full guide and get ready to rock your next photoshoot. [Insert link]”
For the CTA, try to use a button in your email builder to make it easy and eye-catching.
Step 8: Share Snippets on Social Media
Pull memorable quotes or stats from your blog and create single-image posts or text just for Threads.
Do a quick read through of your content and see what stands out to you most, and post those. This is something we do alllll the time on Threads, and it’s helped us start some pretty great conversations.
Are You Ready to Repurpose Your Blog Posts?
Repurposing blog content isn’t just efficient, it’s smart. As a photographer, your time is valuable, and your content deserves to shine on multiple platforms.
By turning one blog post into pins, carousels, videos, emails, and more, you can extend your reach and attract more clients. So, the next time you hit “publish,” remember that the work doesn’t stop there. Repurpose, share, and let your content keep working for you.
And if you’re looking to completely outsource your blogging, be sure to check out our blog retainer, Back Pocket Blogger.
Read these next:
- What is Domain Authority for Blogging?
- How to Book Photography Clients Using SEO Blogging
- Do People Still Read Blogs?
- Caregiver Brand Archetype Examples For Photographers - February 12, 2026
- Hero Brand Archetype Examples For Photographers - January 28, 2026
- Sage Brand Archetype Examples for Photographers - January 20, 2026
1/16/25
Published On:
Krystianna Pietrzak
